Heatmap motion analysis of autonomous robot
I have always wanted to ease my daily life and obtain vacuum robot. Many things were stopping for a while, but finally found a local company which provides demo units so could not resist taking one for a spin. What a good chance to run some computer vision processing algorithms to analyze it!
Seen few pictures where robot owners installed LED on top of their robot and took long exposure pictures capturing motion path in a single shot. I wanted to be more scientific and replicate this effect only without a LED and long exposure photography.
Preparation
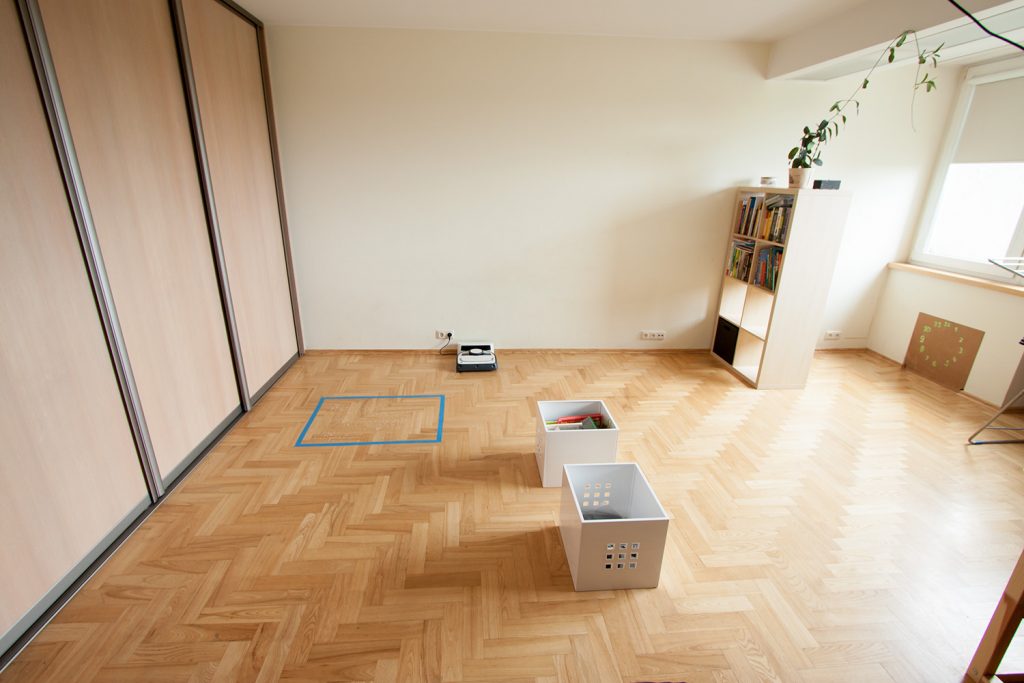
As cleaning properties were reviewed by multiple owners I will skip this part. Let’s just say robot does what it was designed to do. I wanted to visualize motion path and coverage area. So placed couple of simple obstacles and added some dirt imitation in blue masking tape marked region (I thought robot will stay longer in this place but my guess was wrong).
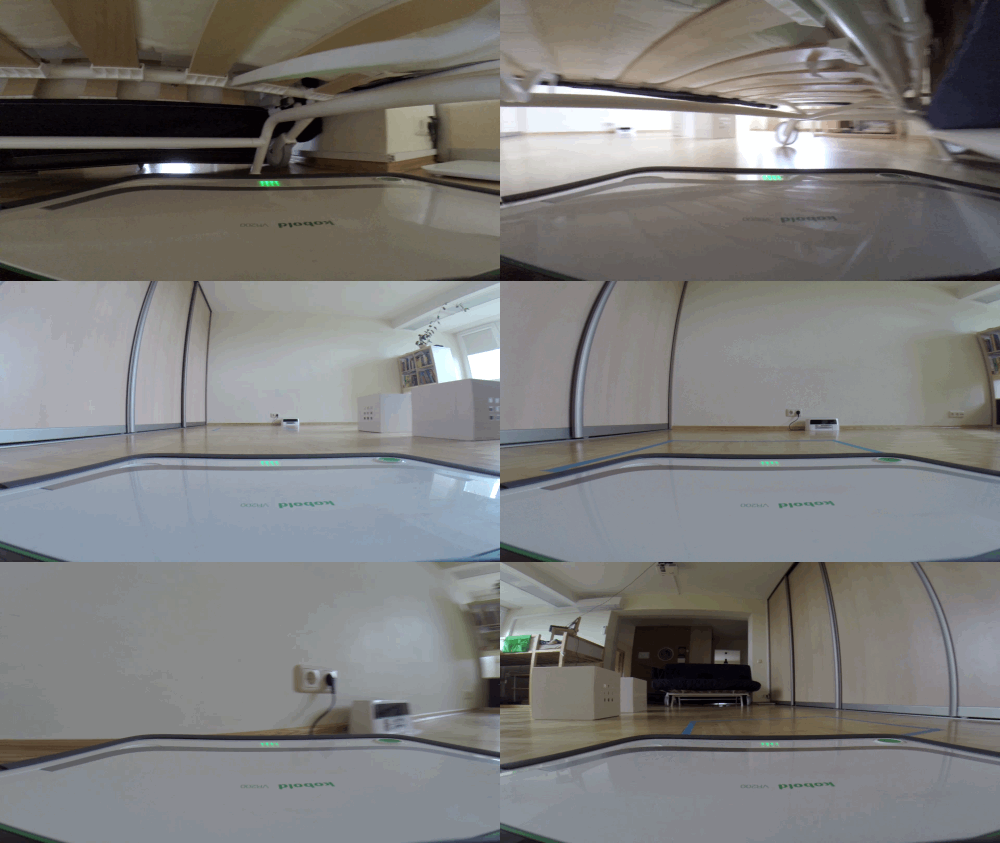
 Could not resist and mounted GoPro action camera to take awesome first person (FPV) video. Note: speed is increased 4 times.
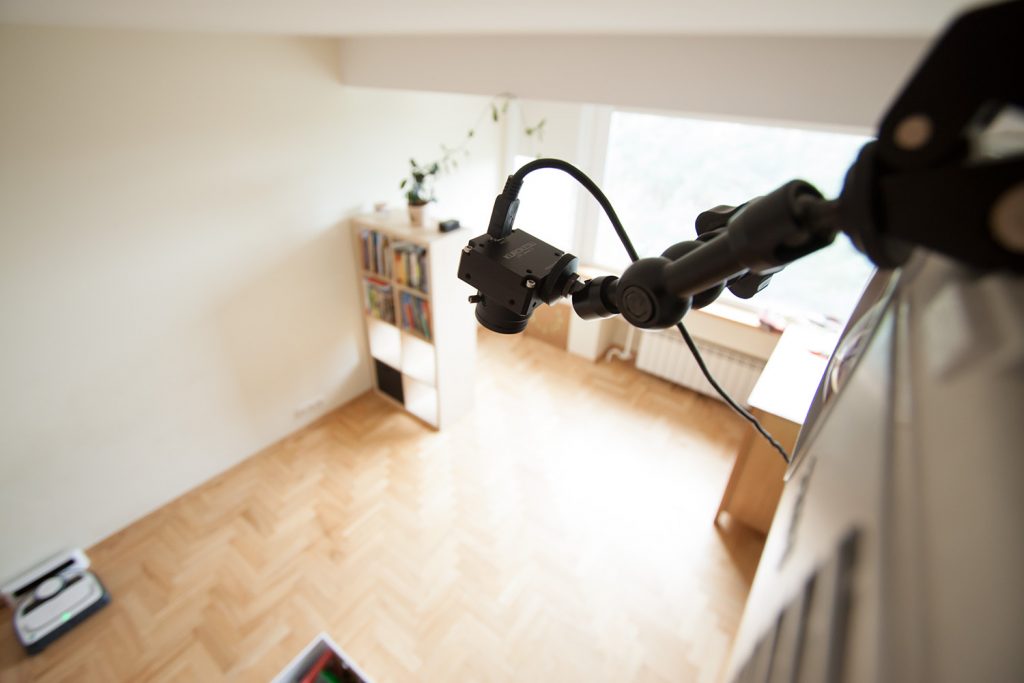
 Installed Kurokesu C1 camera with 1.55m CS fisheye lens mounted above the room recorded all the action. Later this footage was used to run motion analysis.

Results
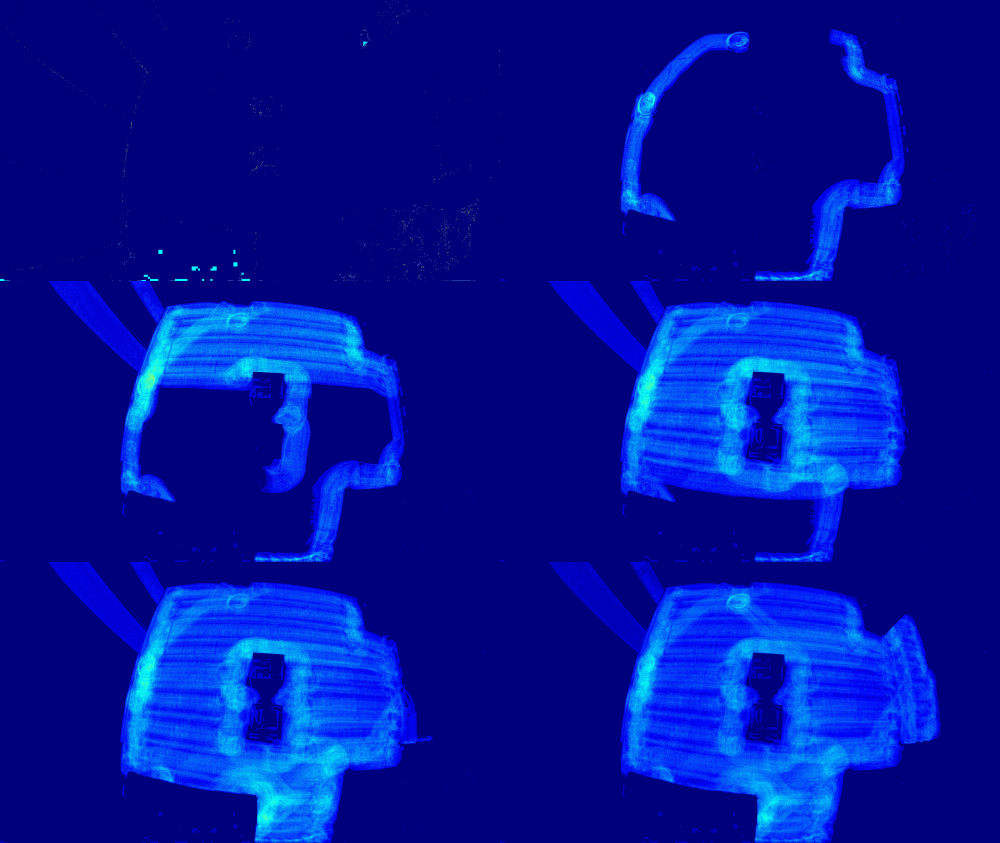
Sketchy code I wrote over half an our uses Python and background subtraction functions from OpenCV, probably not even worth publishing as a functional program. You can clearly see persistent motion as a heat-map and and cleaned area. What a hypnotic view! (Full resolution youtube video will open if you click this animated gif)
Code highlights
Open video file and prepare for reading it.
cap = cv2.VideoCapture("robot_video.avi")
Initialize background subtraction function. Parameters might vary depending on your situation.
backsub = cv2.createBackgroundSubtractorMOG2(history=200, varThreshold=128, detectShadows=True)
Read and subtract background from each frame. Result image is all black. Motion areas are white.
ret, im = cap.read()
fgmask = backsub.apply(im, None, 0.01)
Integrate all motion images into one frame. Kind of long exposure imitation.
arr = arr + imarr
After all frames are processed normalize result picture and run grayscale to heatmap gradient function. Some tricks were used to convert image into float type and normalize pixel values correctly before this step.
heat = cv2.applyColorMap(arr, cv2.COLORMAP_JET)
Save and display calculated heatmap picture
cv2.imwrite("heatmap.jpg", heat)
cv2.imshow("heatmap", heat)
Also added feature to save each n’th heatmap frame to decimate output clip and speed up processing time. After separate frames were produced video and animated gif’s were rendered.

Comments ( 7 )