Node-RED for rapid hardware wiring
I will be posting few interesting follow-up posts that are based on tool for wiring together hardware devices called Node-RED. This post will serve as a reference how to prepare Raspberry Pi and install dependencies. Besides usual IoT stuff (sensor serving, data collection, aggregation and decision making) I see great opportunity to use node-red in rapid simple application making, modification and small scale deployment (good example is an old project turntable for automated photography).
Install OS to SD card
Download latest Jessie Lite Raspbian. It can be obtained from official raspberry web side. Use SDFormatter and win32diskimager to format and write to SD card. Also looks like Node-RED works well on Raspberry Pi 3 Model B as Raspberry Pi 2 failed to install some critical components by default.
First interaction with Raspberry Pi
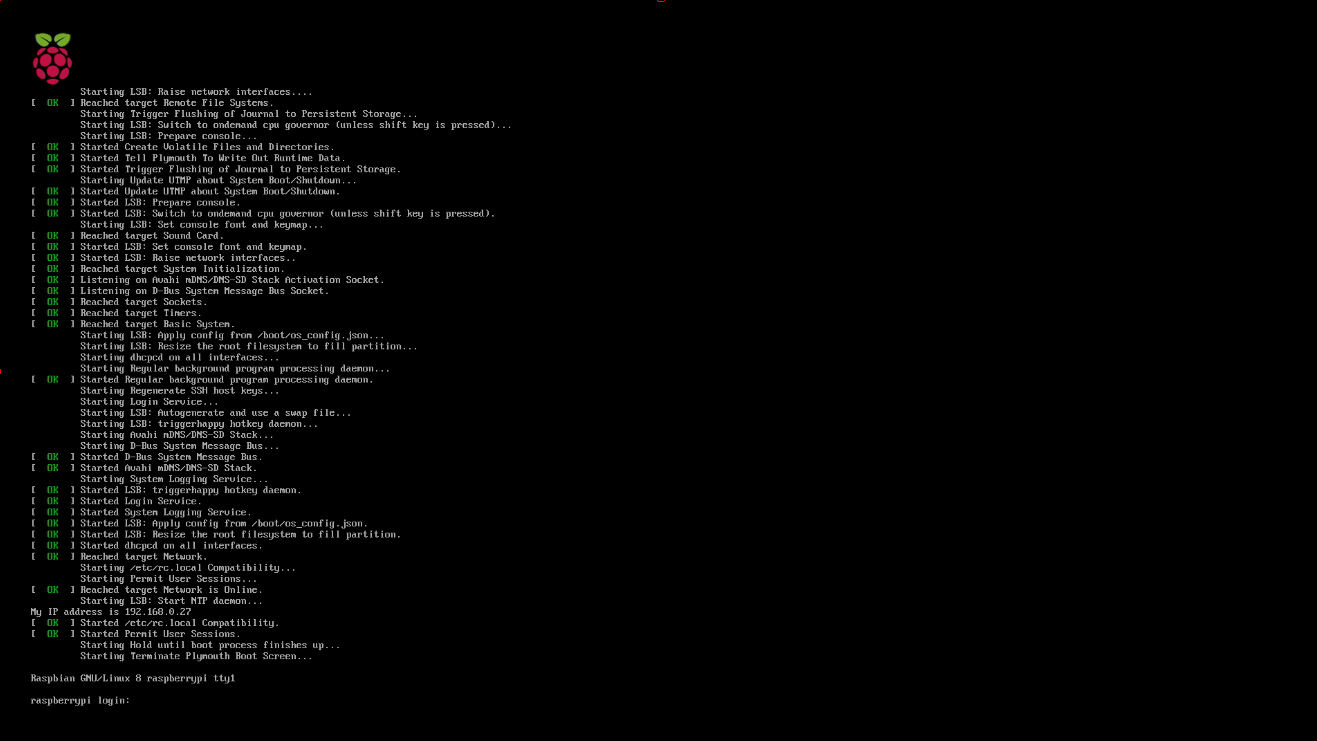
Connect Raspbery Pi to HDMI monitor and keyboard. Power it up. You should see screen like this:
Enable SSH server for headless operation
Rarspberry Pi comes with disabled ssh server by default as a security measure. Kind of good thing, but requires physical keyboard and monitor to be connected. As Raspberry Pi will be not be located on the desk we need remote access. So login with pi:raspberry and type:
sudo raspi-config
You should see screen like this:
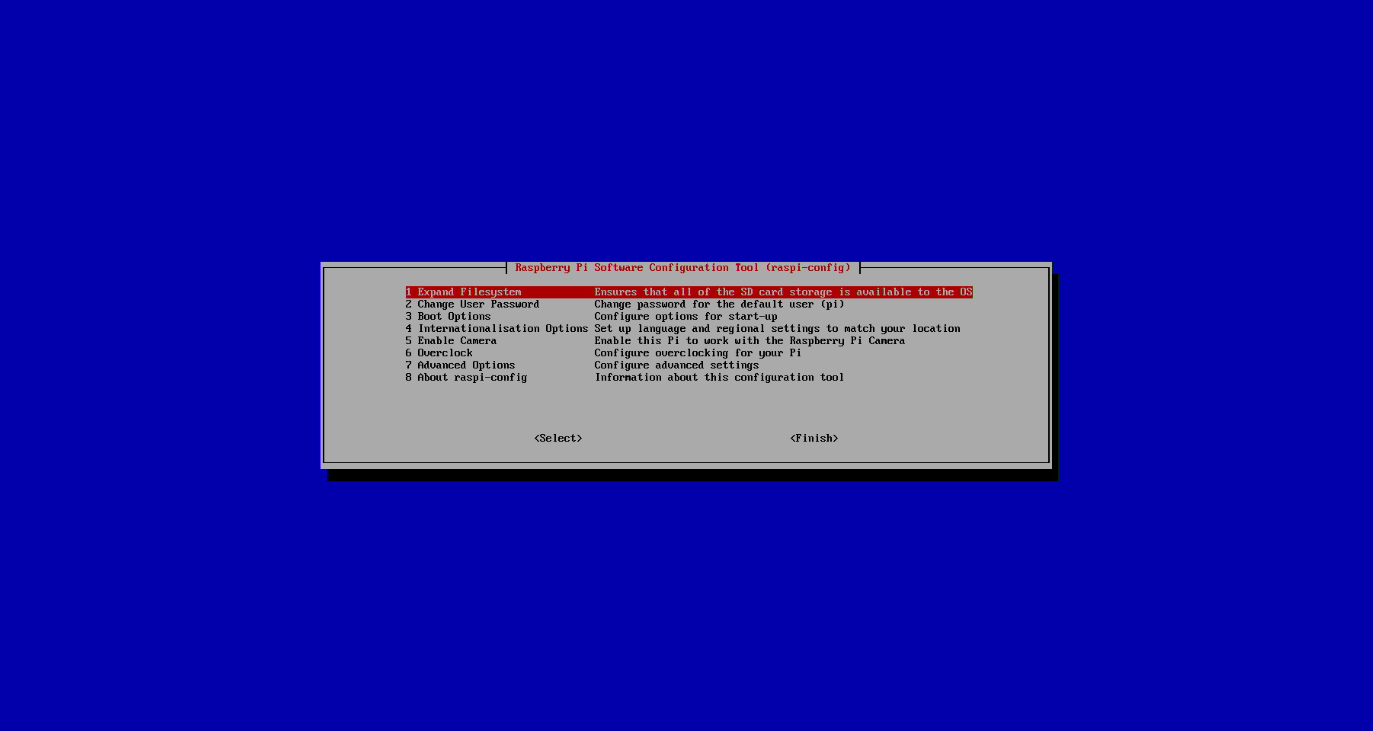
Enable SSH server Advanced options -> SSH. For now quit configuration menu, we will return here later. SSH server should be now enabled, there is no need to reboot. Also this is good time to find out IP address, which can be obtained from ifconfig output or use hostname to access it (for example raspberrypi.local).
Hint for anyone who don’t have spare monitor or HDMI cable, commands can be typed blindly:
pi [enter]
raspberry [enter]
sudo raspi-config
6x [arrow down], [enter]
3x [arrow down], [enter]
[left arrow], [enter]
wait 5s
[enter]
[esc]
Connect over SSH and complete setup
Connect to Raspberry Pi over ssh and complete setup operation:
sudo raspi-config
- Change User Password -> OK -> Enter new password
- Localization Options -> Change Timezone -> (I selected Europe/Vilnius)
- Expand Filesystem
sudo reboot
Install Node-Red
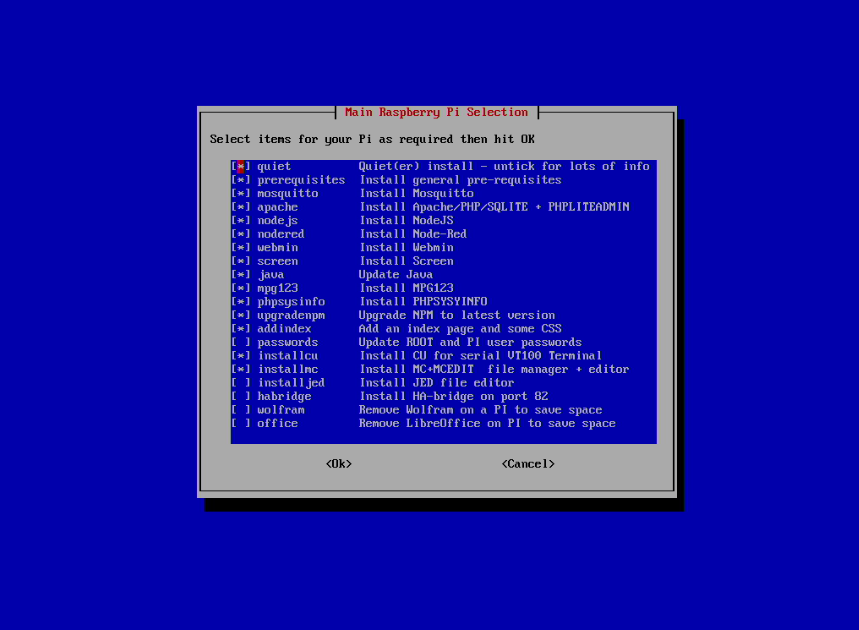
Pete Scargill released awesome setup script to install many goodies (Node-Red, Mosquitto, NODEJS/NPM, Webmin, Apache, HA-Bridge, SQLite, PHPLiteAdmin, MC and more) along with node-red itself. Script is still under heavy development and updates being added pretty often, so to get latest version I suggest using script directly from his repository using git.
cd ~
sudo apt-get install -y git
git clone https://bitbucket.org/snippets/scargill/94yxL/raspbian-debian-ubuntu-menu-script.git
cd raspbian-debian-ubuntu-menu-script
chmod +x snippet.txt
./snippet.txt
After a while it will display menu where you can customize installation. I left everything untouched.
Make credentials for user and admin. User will be used for UI and admin for Node-Red administration and various services. It took about 90 minutes to complete, so take your time to do something useful.
Trying out Node-Red
Now open http://raspberrypi.local:1880 in your browser. Login and you should see Node-Red graphical window like this. I have also added couple of test nodes. One emits time-stamp, another receives it and prints into debug window.
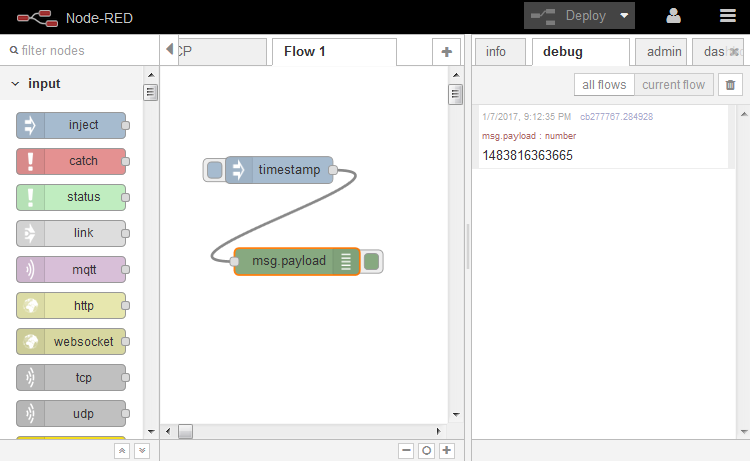
Great, simplest ever flow works.
Comment ( 1 )