Do you want to see the unseen?
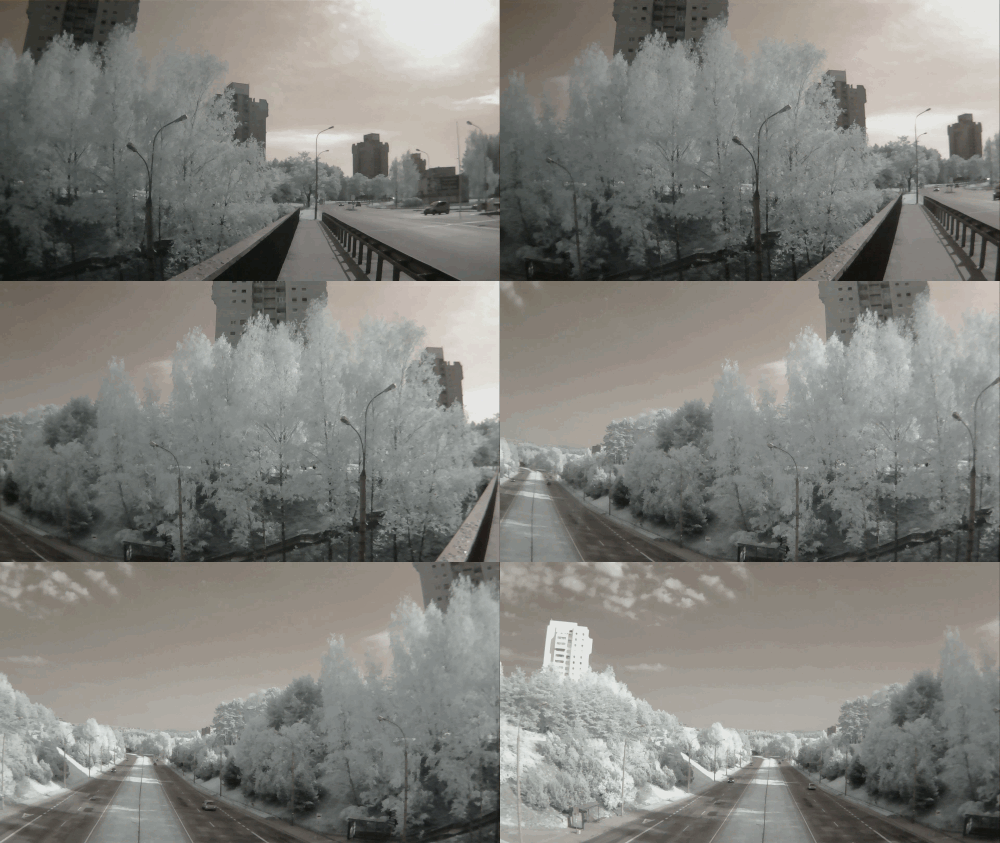
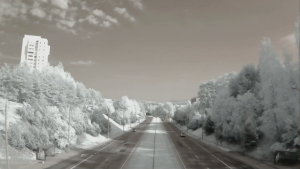 I have always been fascinated by Infrared photography. But it was associated with big cameras and complicated rework process. Never considered using small cameras for this task until yesterday. After taking videos for new experiment (count bypassing vehicles) I switched to modified camera and captured short video of surroundings. Was surprised that camera worked flawlessly in auto mode and footage looked awesome.
Infrared photography, besides scientific applications, is widely used by enthusiasts because of dramatic result. This effect is mostly used for landscape photography and called “Wood Effect”. It is mainly caused by foliage (such as tree leaves and grass) strongly reflecting in the same way visible light is reflected from snow. The other attributes of infrared photographs include very dark skies and penetration of atmospheric haze compared to visible light.
Setup
- Kurokesu C1 USB camera
- Universal 2.8-12mm lens (shooting video in the street)
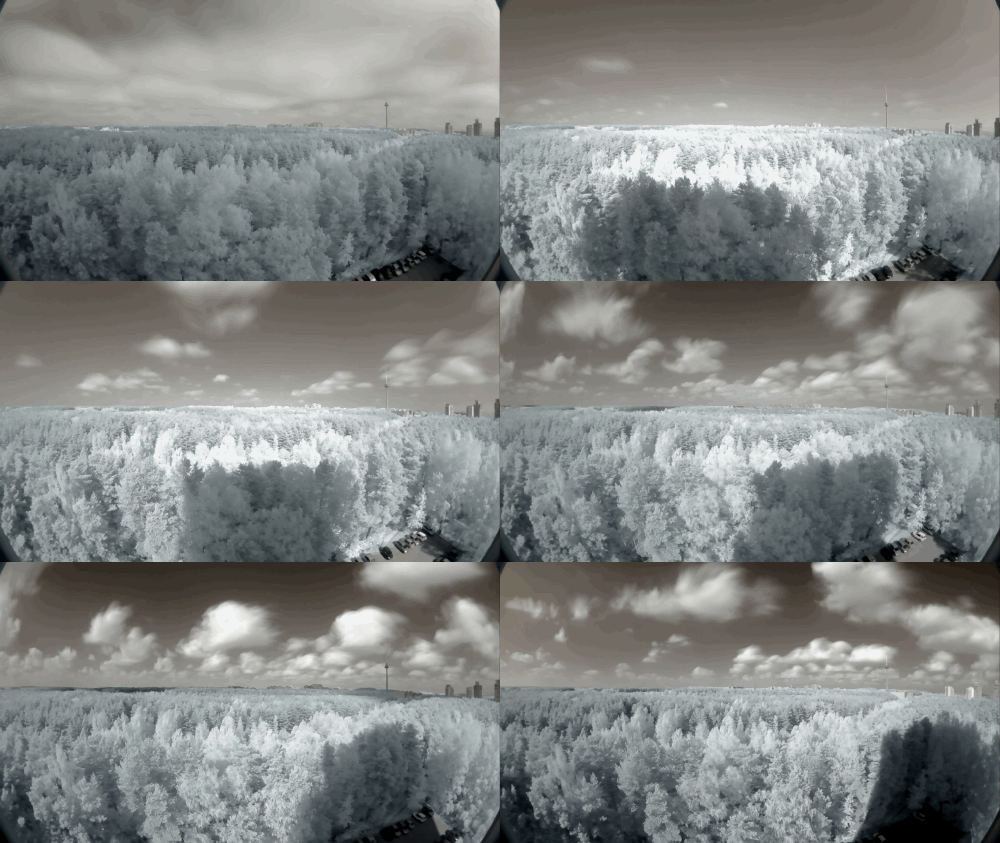
- Fisheye 1.55mm lens (timelapse video)
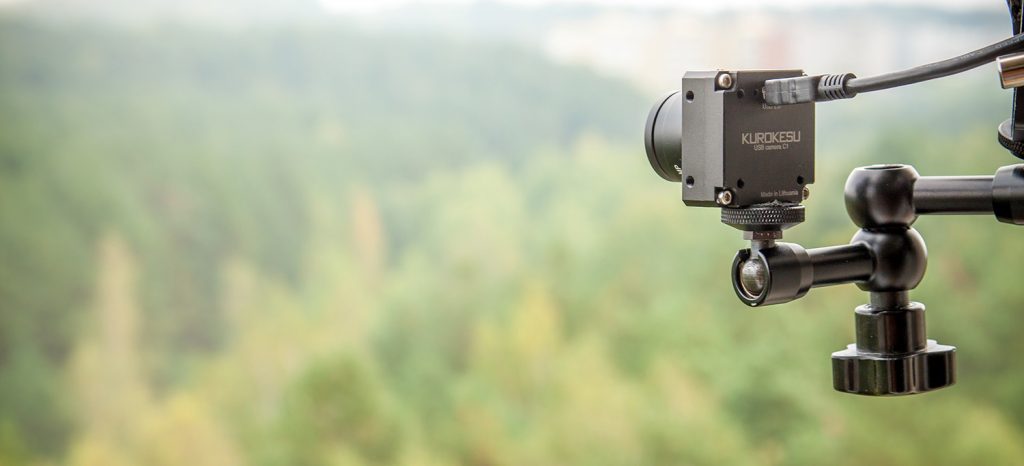
- 7″ magic articulating arm for flexible and stable camera mount
C1 camera versatility allows quick filter and lens replacement. It has multiple mounting options on all 6 walls along with 1/4″-20TPI standard tripod mount. Picture provided below is to illustrate universal mounting options with 7″ magic arm.
Sensitivity
As I noted earlier camera has increased sensitivity in near-infrared range and peaking somewhere between 800 and 850nm. Worth to be noted that all channels have similar quantum efficiency at this range so colors should be balanced. High pass infrared filter of 800nm should work the best. 
Rework
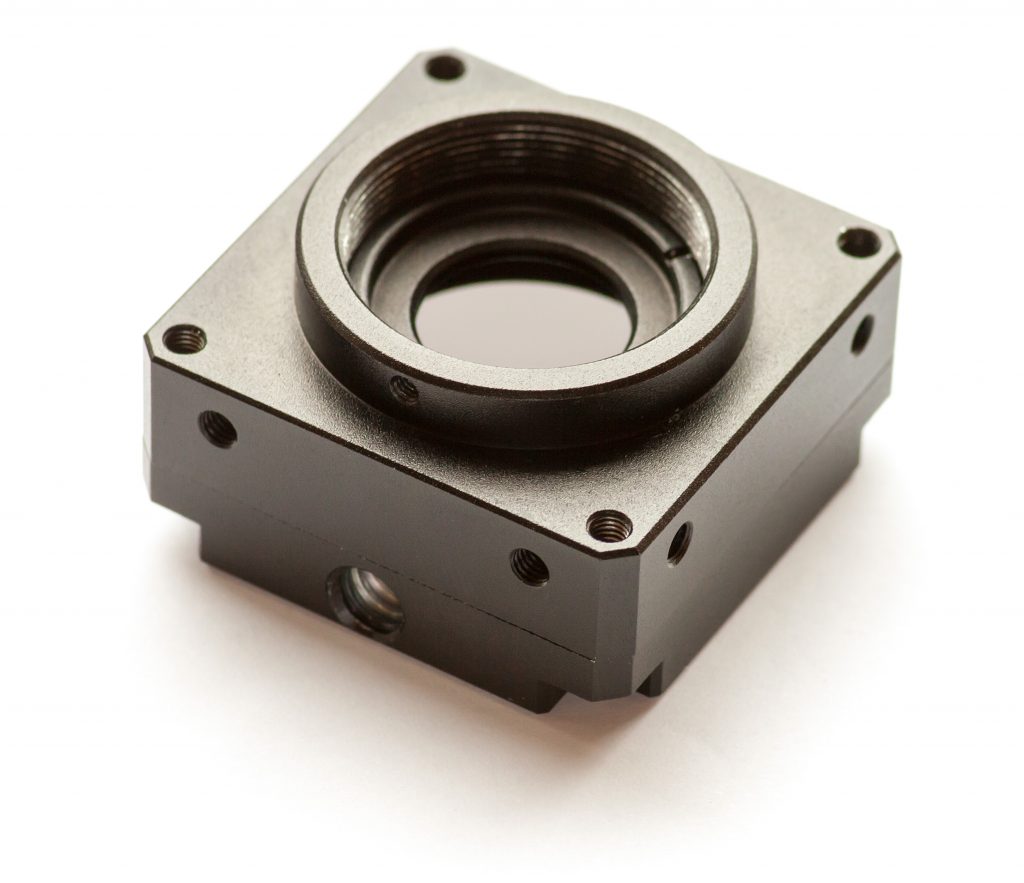
Default IR block filter was replaced with IR band pass one. Not quite sure about filter specifications as it was used from scrap box, but I’d guess cut-off wavelength is about 850nm (near infrared starts at 700-750nm). Replacement procedure is fairly easy – unscrew retaining ring, remove stock filter (17x17x0.5mm) and put new one. Filter dimensions does not have to be exact. After completion camera looked like this – filter blocks visible light and sensor can’t be seen when photographed with normal camera.
Results
Even raw and unedited video speaks for itself. New firmware with extended color adjustment range works perfectly and video can be filmed in automatic settings. (Click on video for Youtube clip)
Final thoughts
Being tethered, this camera can’t be used standalone. It needs some kind of recording and control device, be it full size or embedded computer like Raspberry Pi. This opens possibilities difficult to achieve with normal camera like long term time-lapse photography (a year or so) or live stream right from the scene.
Here is one more short clip from stationary setup being used for timelapse photography. It was installed for a day but nevertheless results are worth to be shown here. (Click on video for full size Youtube clip)
